Commercial Cleaning Winnipeg: Solutions for a Spotless Office
Wiki Article
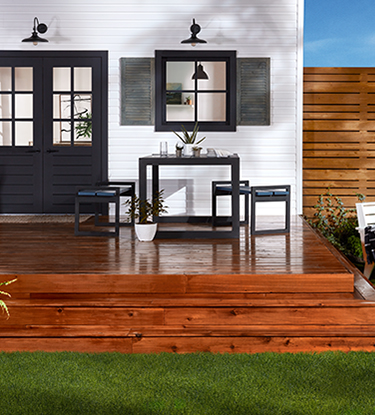
Deck Discoloration Made Easy: Step-by-Step Guide for DIY Enthusiasts
Are you a do it yourself lover wanting to give your deck a fresh face-lift? Look no more! In this detailed guide, we will stroll you via the procedure of deck staining. From preparing the surface area to applying the discolor, we've got you covered. With our easy-to-follow guidelines, you'll be able to change your deck into a lovely outdoor space in no time. So get your devices as well as allow's begin!Preparing the Deck Surface Area
Before you begin tarnishing the deck, make certain you're properly cleaning and also fining sand the surface area. Utilize a power washing machine or a tube with a high-pressure nozzle to completely clean up the deck. Pay close attention to areas with stubborn spots or mold and mildew, as well as use a deck cleaner or a combination of cozy water and moderate detergent to treat them.As soon as the deck is completely dry, it's time to sand the surface. Grab a handheld orbital sander or a fining sand block, as well as begin sanding the deck boards in the instructions of the wood grain.
Choosing the Right Spot
When making a decision on the suitable stain, you'll desire to consider the kind of wood you're working with. Various types of wood have various characteristics that can influence just how well they absorb the discolor.Along with the kind of wood, you ought to also take into consideration the shade you desire to accomplish. Discolorations come in a range of tones, from light to dark, and can considerably change the appearance of your deck. If you're looking to enhance the all-natural color of the timber, choose a clear or semi-transparent discolor. These permit the timber grain to show with while including a refined hint of color. For a more dramatic effect, choose a strong or nontransparent stain, which will totally cover the wood as well as provide a bold, uniform shade.
Lastly, think of the level of protection you desire for your deck. Spots with higher levels of pigment often tend to supply much better protection versus UV rays as well as moisture. If your deck is subjected to rough weather conditions, it deserves buying a tarnish with included protective qualities.
Cleansing as well as Repairing the Deck

Using the Spot
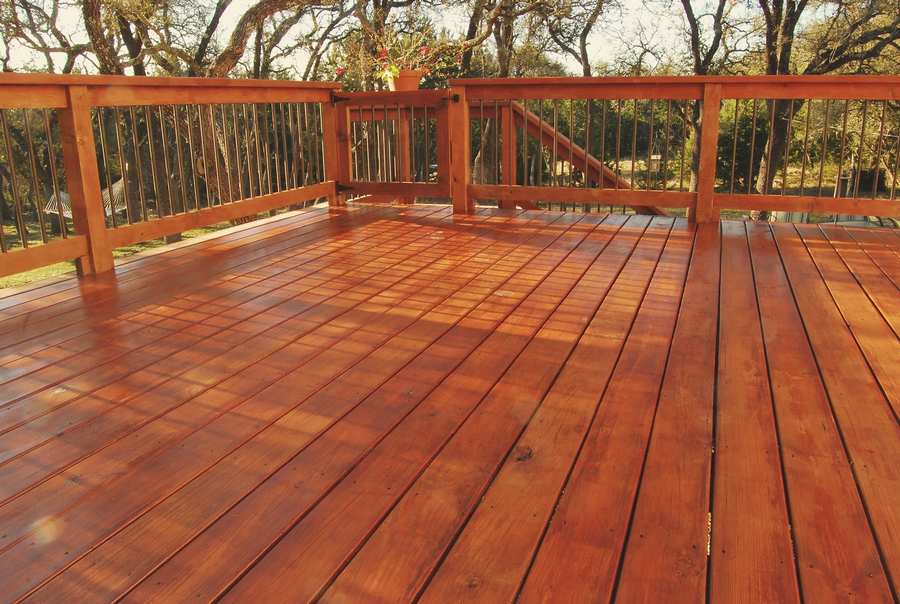
Ending Up Touches as well as Maintenance Tips
After applying the final layer of tarnish, it's essential to regularly clean as well weblink as secure your deck to keep its beauty as well as protect it from the aspects. Pick a top notch sealant that is particularly made for decks and use it according to the supplier's instructions. It's suggested to use a brand-new coat of sealant every 1-2 years to maintain your deck looking its ideal.
Conclusion
Report this wiki page